Christmas mongram wreath, with my own twist
A few days ago, I posted a pic of an inspiration wreath that I found at a lovely decorating blog called A Soft Place to Land.
Well, I liked it so much that I mimicked the monogram on my own Christmas wreath.
I liked the simplicity of the white letter used on the inspiration wreath, but for Christmas, I wanted to jazz it up a bit with some sparkle. Given that I couldn't find a sparkly red 'R' in any local craft shop, I decided to try it myself.
STEP ONE: This is what my plain, greenery wreath looked like before I jazzed it up for Christmas!
 STEP TWO: I purchased a plain white mdf 'R' from Michaels. I sprayed it all over with matte spray varnish.

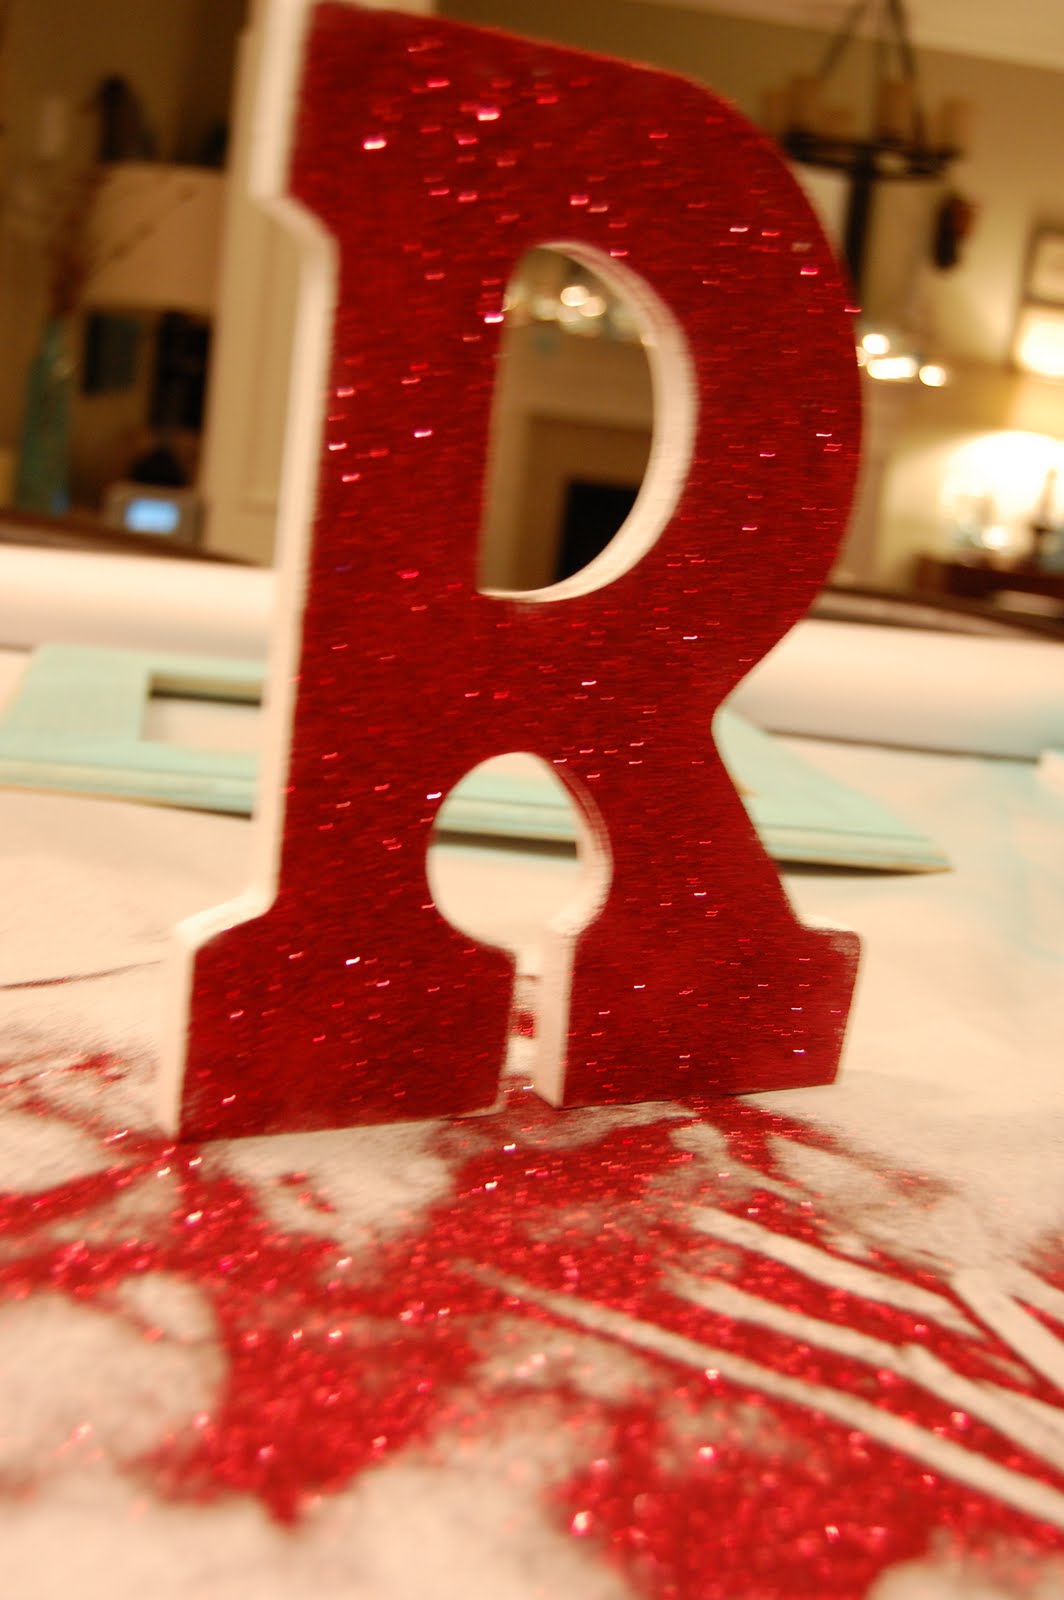
STEP THREE: I held the letter over a large piece of white paper and then covered the entire surface with Red Ruby sparkles from Stampin' Up. These sparkles were great because they are very irridescent, but I am sure any would do. I already had them on hand for scrapbooking and card-making. The sparkles instantly stuck to the varnish. Once this 'coat' of sparkles was dry, I lightly sprayed the surface again, and then did a light sprinkling of 'Dazzling Diamonds' sparkles to give it a little more of a frosting. (PS, Once I was finished with each colour, I rolled the paper up into a cone, and put the leftover sparkles on the paper back into their containers. Too valuable to waste!)


STEP FOUR: After it was completed dry, I sanded the edges. It gave it a frosted sugar cookie kinda look!
STEP FIVE: I added the letter to the wreath, hanging it with gingham ribbon and a string of red beads that resemble cranberries!
STEP SIX: Enjoy!


Well, I liked it so much that I mimicked the monogram on my own Christmas wreath.
I liked the simplicity of the white letter used on the inspiration wreath, but for Christmas, I wanted to jazz it up a bit with some sparkle. Given that I couldn't find a sparkly red 'R' in any local craft shop, I decided to try it myself.
STEP ONE: This is what my plain, greenery wreath looked like before I jazzed it up for Christmas!
 STEP TWO: I purchased a plain white mdf 'R' from Michaels. I sprayed it all over with matte spray varnish.
STEP THREE: I held the letter over a large piece of white paper and then covered the entire surface with Red Ruby sparkles from Stampin' Up. These sparkles were great because they are very irridescent, but I am sure any would do. I already had them on hand for scrapbooking and card-making. The sparkles instantly stuck to the varnish. Once this 'coat' of sparkles was dry, I lightly sprayed the surface again, and then did a light sprinkling of 'Dazzling Diamonds' sparkles to give it a little more of a frosting. (PS, Once I was finished with each colour, I rolled the paper up into a cone, and put the leftover sparkles on the paper back into their containers. Too valuable to waste!)

STEP FOUR: After it was completed dry, I sanded the edges. It gave it a frosted sugar cookie kinda look!
STEP FIVE: I added the letter to the wreath, hanging it with gingham ribbon and a string of red beads that resemble cranberries!
STEP SIX: Enjoy!


Labels: DIY, Holiday Decor, Tutorials
posted by Kerri at
8:49 AM
![]()
![]()

0 Comments:
Post a Comment
Your comments mean the world to me!
Subscribe to Post Comments [Atom]
<< Home