.

Thursday, May 26

Slaying a Sacred Decorating Cow

Step 1: Move furniture from Room A to Room B.
Step 2: Re-position furniture in Room B. 
Step 3: Curse on furniture in Room B.
Step 4: Wish you had never moved furniture from Room A to Room B.
Step 5: Repeat steps 2 through 4. Frown.
Step 6: Repeat steps 2 through 4. Have a drink.
Step 7:  Repeat steps 2 through 4.  Frown some more.

You get the picture, lol.

Have you been there, done that?

Well, that's been the scene in our small main floor tv room/den over the past 36 hours.

If you've been following along here, you might remember that we've been finishing off our basement which means that a lot of furniture is getting moved around here. 
  • Room A (the "Living Room") is getting new furniture which is being delivered today!
  • Room B (a small main floor TV room/den) is getting Room A's hand me down furniture.  
  • Room C (the new large TV room in the basement) is getting Room B's.  Have I thoroughly confused you yet?  Sorry. Now you are just as confused as me!

    First off, you need to know that Room B is pretty small.  It has two-story cathedral ceilings which makes it feel a little larger, but dimension-wise, it's pretty teeny weeny at about 12x14.  Despite that obstacle, I was stubbornly convinced that I could stuff an over-sized couch, two beastly chairs, and large media armoire in there.  No sweat.


    By my rough measurements visual estimations (my bad), I was pretty sure it was going to work in there.  If not I was sure I could make it work.  Wrong. Turns out, I didn't account for the over-sized arms on the sofa and two chairs. 


    The worst design dilemma in the history of design dilemmas. I could make it look pretty, but it wasn't functional.  I could make it functional, but then it wasn't pretty. 

    No matter what arrangement I tried, the open doors of my armoire hit a chair.  The only place you could actually view the TV was from the sofa.  I don't know about you, but five of us huddled on a sofa watching a movie doesn't sound like it'd be much fun after 5 minutes.


    Exhausted and peeved, I sat in one of the beastly chairs to collect my thoughts.
    • Option A: Buy new furniture for Room B.  No, hubby would never go for it.
    • Option B: Use new furniture intended for Room A in here.  Forget it; not at all what I'd envisioned for either space.
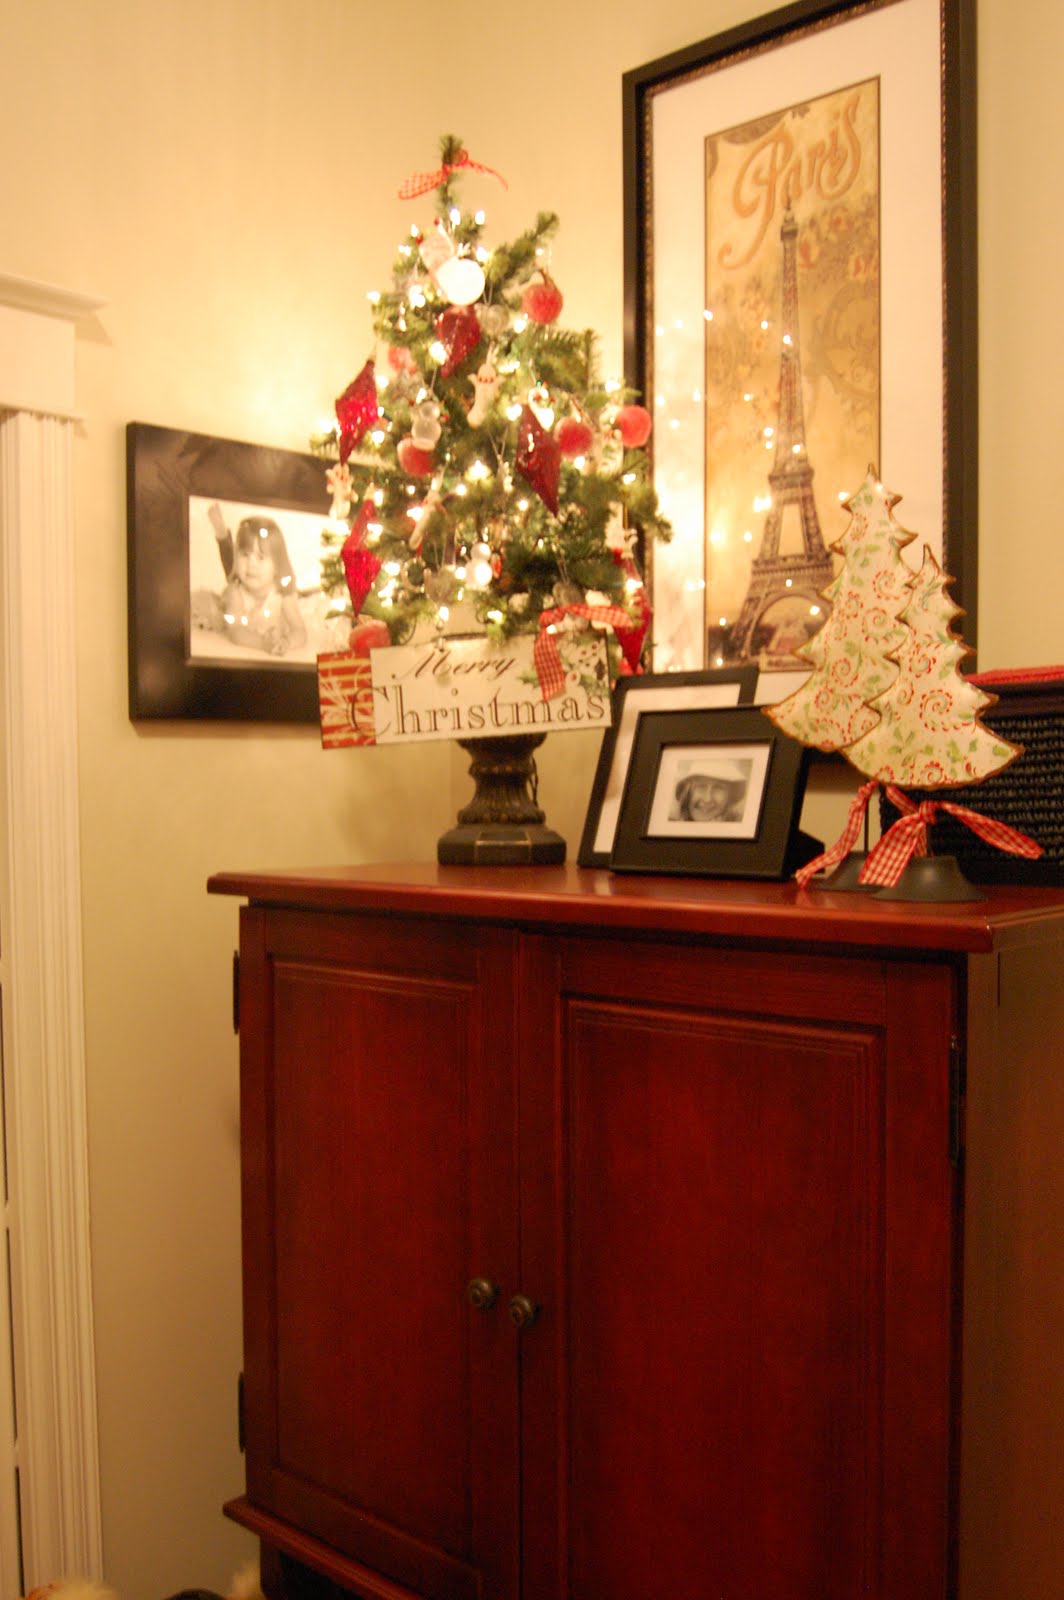
    • Pic taken last Christmas.
    • Option C came from a little voice in my head that I was trying to drown out.  It whispered, "Mooooove the armoire out of this room.  Mooooove the armoire out of this room.  Mooooove the armoire out of this room." :-)
    Nooooooooo!  Not the armoire!

    I love my armoire, and it's the newest piece of furniture in the room, purchased at Pier One 2 years ago.  I am not a fan of seeing TV equipment when you don't have to, so I love having the option of closing the doors.

    As I'm arguing with myself, I had a perfect sight-line to the front porch where a new console table purchased at Christmas-time (also from Pier One) was sitting.  It caught my attention.  Hmmmmm.  Maybe.  Just maybe that might work.  Well, I thought, I guess I can try it just to rule it out.

    So after some pushing and pulling and carrying and grunting, I managed to move the big armoire out of the den by myself, and bring in the console table from the porch. I disconnected all that electrical "stuff", and then plugged it all back in again.  (She pats own shoulder).  All the while, I was hoping it wouldn't fit properly.


    I couldn't believe my eyes, it actually looked OK.  Not "armoire OK", but OK. I actually was starting to like it.  The best part: being able to see the TV from any angle, and any seat in the room.


    What I learned from this (exhausting) experience is that sometimes you have to be able to slay some sacred cows in order to create a great space.  My sacred 'decorating' cow in this case was my stubborn belief that TV equipment should be behind closed doors.  But once I let go of that, and tried something new, I ended up creating a space that was not only pretty, but functional too. 


    After all, what kind of room is it, if it doesn't 'work'?

    Until next time, happy decorating.



    Labels:

    Thursday, February 10

    Raising the Roof: The Power of the Right Drapery

    I'm a little drapery-obsessed these days.

    For those of you who missed a past post about my drapes, let me explain. 

    Three years ago, we built a new home with 9 foot ceilings.  But I made the decorating faux pas of taking my custom-made drapes from my last home with me.  I just couldn't bear to part with them since they had cost me an arm and a leg. Why the faux pas? Well, because they were made for 8-foot ceilings.  I compensated for their lack of height by hanging them on our window header trimwork, rather than just below the crown moulding.


     I was never really a big believer in the transformational power of drapery until I made that mistake.  When the (too short) drapes went up in my new home, it was as if my 9-foot ceiling immediately lost a foot (or more).  Instead of drawing the eyes up towards the ceiling as drapery should, these drapes had the opposite effect: they made the room feel smaller.

    Although I realized the drapes were all wrong for my space, I lived with them for 3+ years. The idea of new drapery scared me a little. After all, custom drapes can cost a mortgage payment or two. Plus, getting them made is such a royal pain in the butt.  So many consultations and decisions!

    So the short drapes stayed. 

    I feel some comfort in knowing that I am not the only person out there who has made this boo boo. For example, take a look at how low the drapery is hung in the following photo. I have to wonder why these drapes are hung so low, rather than taking full advantage of the window height. I can only assume it has something to do with blocking out daytime sun without losing all natural light with full length drapes.  But it's amazing how much smaller it makes the windows seem.


    Now take a look at these photos.  You'll note that the drapery is hung closer to the ceiling than to the window.  This placement draws the eyes up, and provides the illusion of extra ceiling height.  Love it!


    So why such a drapery obsession right now? Well, after living with my faux pas for 3+ years, I am finally making a change. I can't wait to show you what a dramatic difference the right drapery is going to make in my kitchen / living area.

    I'll post the before and afters in a few days!

    Until next time, happy decorating!


    Labels: ,

    Thursday, November 18

    My Drapes, My Nemesis

    I am discovering that when you are a stay-at-home mom, you "stay at home" a lot more often than other people.

    Staying at home sure has its advantages, but for a decorating addict like me, it can also be an expensive venture! You see, you start to notice a lot more things around your house. You see things you never did before. The empty spaces jump out at you, begging you to decorate them, and the things you don't really like about your house become even more irritating.

    Well, for me, one of those irritating things is the drapes hanging in my open concept living/eating area. They are perfectly lovely pinch pleat drapes in a tasteful fabric, fully lined, and hanging on wrought iron drapery rings. They were custom made about 6 years ago, and they cost me a small fortune, yet I now find myself trying to 'decorate around them'.


    While they were custom made, they were not custom made for this house, and herein lies the problem. I had them made for my last home, which had standard 8-foot ceilings, vs the 9-foot ceilings in our new build.

    Having spent so much money on them, I couldn't bare to leave them behind in the sale of that home. That was my first mistake. So, fellow decorators, hear this: drapes made for 8-foot ceilings DO NOT WORK in homes with 9+foot ceilings!

    Wish I realized that then! Instead, we took two sets of these drapes and hung them in two large windows on the back wall of our new home. To compensate for the lack of length, we mounted the rod on the mouldings above the windows (gah!), a solution which seemed not ideal but reasonable to me at the time (wrong again!). But the longer we've lived in this new home (now 3 years), the more irritating these drapes have become. Visually, this decorating 'mistake' actually brings down our high ceilings, and they appear lower than they are.

    My other problem with these drapes is pure aesthetics. While they are relatively 'neutral' in both colour and pattern, I can't escape the fact that I selected the fabric for a different home which had different lighting properties and a slightly different colour palette than I now have. While they don't stand out as having any real "ick" factor, they do nothing to highlight my new, softer colours. It's time for these drapes to go! I need to throw in the towel and start over!

    If only it were that simple!
    • It's going to be a big investment to replace them. I am not a fan of privacy sheers (too fussy), so these drapes need to pull across the entire window which means a tonne of fabric. One window is about 12 feet in width, while the other is 8 feet. Yikes!
    • I am also concerned about spending another small fortune on custom-made drapes, only to change my decor again in another 5 years.
    • I am also wondering how I am going to convince my hubby, lol...hmmmm

    I've been investigating 'custom-look' options via Restoration Hardware, specifically, the silk taffeta pleated ones (pic below). Still pricey, but less than half the cost of custom drapes.


    Aren't they just dreamy? Perhaps a project for early 2011. That is, if I can hold out through the Christmas season; but I have to tell you, I feel the urge coming on, and I'm not sure if I can drown it out! My soul is telling me I NEED these drapes!

    Labels: ,